


Multimedia
-
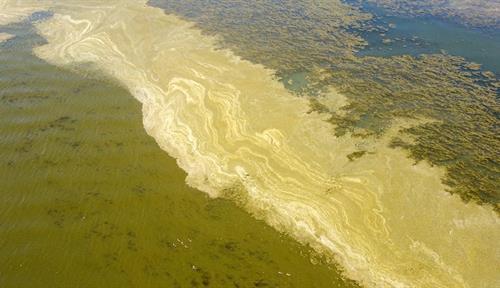
The fight against an invasive fish in California’s Clear Lake
VIDEO: Can removing carp help the lake’s native fish and keep toxic algal blooms in check?
-
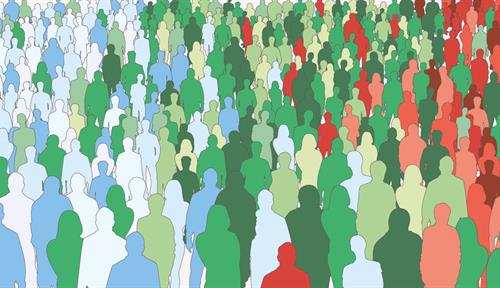
Preparing for future pandemics: Learning from Covid-19
VIDEO: Knowable Magazine’s interviews with experts during the pandemic revealed many missed opportunities and blunders in the US response to Covid-19, which was marked by excess American deaths and disability. The experience does offer lessons on how to better prepare for what scientists call the inevitable emergence of the next global health emergency.
-
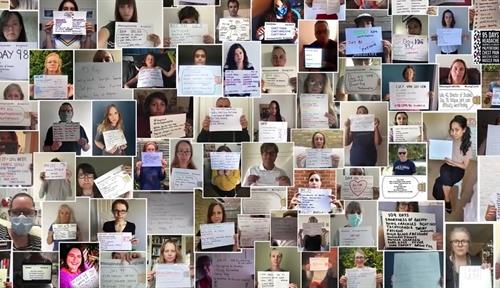
Long Covid: A parallel pandemic
VIDEO: Tens of millions of people are living with long Covid. Yale immunologist Akiko Iwasaki explains the current state of play in the search for causes of, and treatments for, this potentially debilitating illness.
-
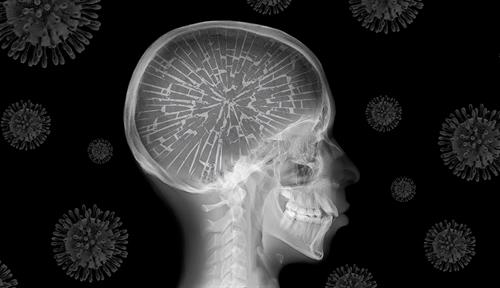
Covid and the brain: A neurological health crisis
VIDEO: Even a mild SARS-CoV-2 infection can cause inflammation that disrupts neural communication, says Stanford neurologist Michelle Monje. Her concern is that Covid-19 may leave millions dealing with cognitive problems, from a loss of mental sharpness to lapses in memory, that prevent them from returning to their previous level of function.
-
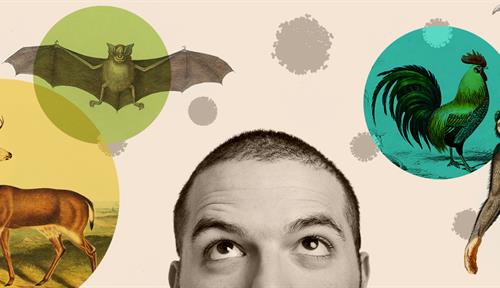
Covid-19: Origins of an outbreak
VIDEO: Where do new diseases come from? As people increasingly push into remote areas, the risk of encountering new pathogens increases, says wildlife epidemiologist Jonna Mazet.
-
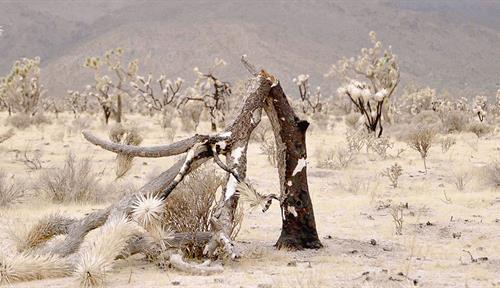
Can a fire-ravaged forest of Joshua trees be restored?
VIDEO: In August 2020, the Dome Fire burned more than 40,000 acres of the iconic species’ range in the Mojave Desert, leaving a graveyard of blackened trees. A massive replanting effort now underway hopes to return life to the fragile ecosystem by boosting numbers of the climate-threatened plant.
-
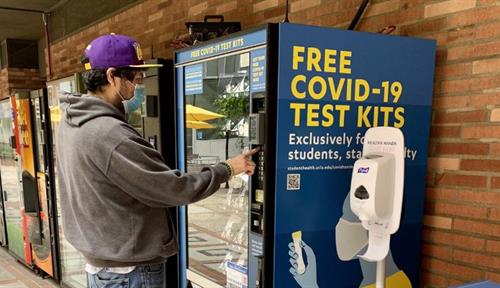
Why Covid-19 testing went so wrong in the US, and what to do now
VIDEO: Delays, errors and a fragmented response initially kept public health officials in the dark about the spread of SARS-CoV-2. More tests and easy access could still play a critical role in slowing the virus.
-
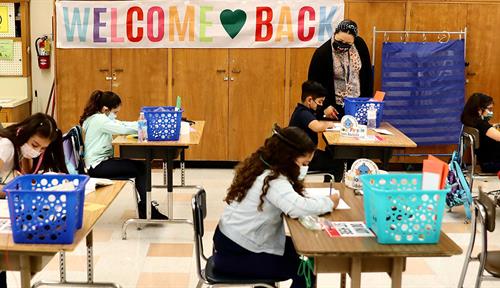
Covid’s main lesson? For this journalist, it’s unpredictability
VIDEO: New York Times science reporter Apoorva Mandavilli chronicles the rise of the delta variant, the latest of many twists in the pandemic that she’s covered since it began. Delta has left parents in an especially tough spot, with schools opening but young children still vulnerable.
-
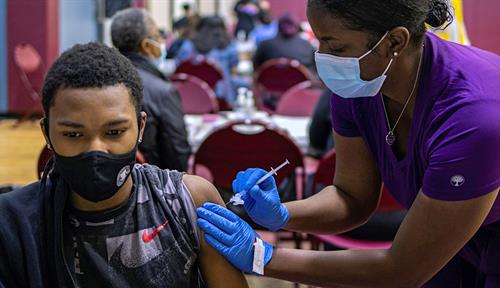
Covid-19: Why race matters for health
VIDEO: The pandemic has highlighted the complex links between inequality, racism and disease risk in America. Harvard public health scholar David Williams explains.
-
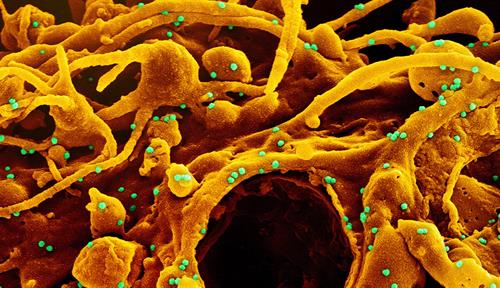
SARS-CoV-2: Evolution of a virus
VIDEO: Scientists expected the novel coronavirus would mutate and change. But its runaway spread means new, more dangerous variants are more likely to emerge. Harvard computational geneticist Pardis Sabeti explains.


